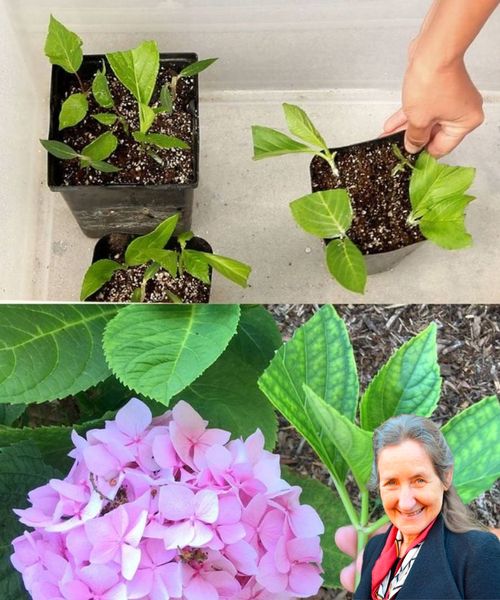
Multiply your garden with stunning hydrangeas using this simple, fail-proof method. Here’s how:
Step 1: Prepare Your Materials and Cutting
- Gather Materials:
- A healthy hydrangea plant
- Pruning shears or a sharp knife
- Well-draining potting soil mixed with perlite or vermiculite
- Rooting hormone (optional)
- A container or pot and a plastic bag/cover for humidity
- Choose and Prepare Your Cutting:
- Find a healthy, non-flowering branch with fresh growth; cut a 5-6 inch piece with a few leaves.
- Cut the stem at a 45-degree angle and strip off all but the top two leaves.
- Optional: Dip the cut end in rooting hormone for faster root growth.
Step 2: Plant and Nurture the Cutting
- Planting the Cutting:
- Fill a container with your soil mix and make a small hole.
- Place the cutting into the hole, then gently firm the soil around it.
- Create a Mini Greenhouse:
- Cover the pot with a plastic bag or clear cover to keep humidity high.
- Place the pot in bright, indirect light and keep the soil slightly damp.
Final Steps: Rooting and Transplanting
- Check Root Growth: After 2-4 weeks, gently tug the cutting to see if it has rooted.
- Transplant: Once roots are established, transfer your new hydrangea to a larger pot or plant it outdoors in a partly shaded area.
With just a little patience, you’ll be able to enjoy a flourishing hydrangea garden for free! 🌸


